The Unreal Engine
This case study was all about harnessing the power of Unreal and exploring fast, photographic and filmic renders.
The first step before entering Unreal was to download and install the Automotive Material Pack to my project. Also, not forgetting to read the extensive document page that accompanies it, very dense but hugely informative.
Finding a HDRI that was close to the plate was a little challenge but I settled on this from HDRI Haven.
Render passes were relatively minimal but I wanted to separate them as much as possible, mainly for quick modifications in comp. I created a Master Level which was just a blank scene and created levels that would give me specific results.
The new High Quality render manager was used to render out the passes. The Alpha mask was also generated through this option.
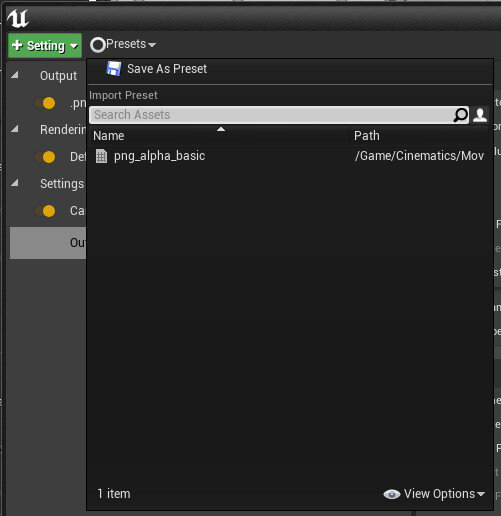
Select ‘Output Alpha’ in the file output options. I used PNGs to keep the file sizes down.
Creating a custom preset is also very useful, you can also use this to specify the Sequence you want to render and the export path.
These levels were used to drive the final render output using the Cinematic Render Output Manager, I loaded each sequence into the queue and selected my custom preset.
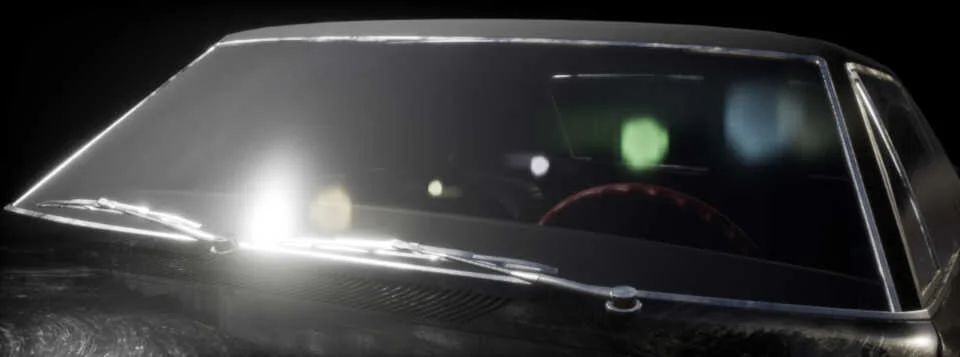
The final output was 3 incredibly quick renders, each with an alpha channel ready for bash comping. The most I waited for a render was 7 seconds.
This workflow was about being as organic as possible and the purpose of this exploration was to try out ideas and see what works.
The car is so iconic that it looks amazing from any angle.
The fidelity is quite phenomenal, it’s such an improvement on Maya’s viewport.
These results were way above what I thought I was going to be able to create in my post vis workflows. It’s incredible that these were all captured on my HP Pavilion laptop with a GeForce 940MX graphics card.


